
Harrier (80 series) Cabin air filter
The Harrier has also become a car with quite a history.
Its popularity waned for a while, but I think it has made a comeback thanks to the popularity of SUVs.
Basically, it has always maintained the same form, but no matter which model it is, I get the impression that it is a pretty cool car.
There are more competitors now than there were in the past, but I still don’t feel like I’m losing out to other car models.
Today I would like to introduce how to replace the air conditioner filter of Harrier (80 series).
Now, I would like to get straight to the point.
Pull the damper to the left to remove it
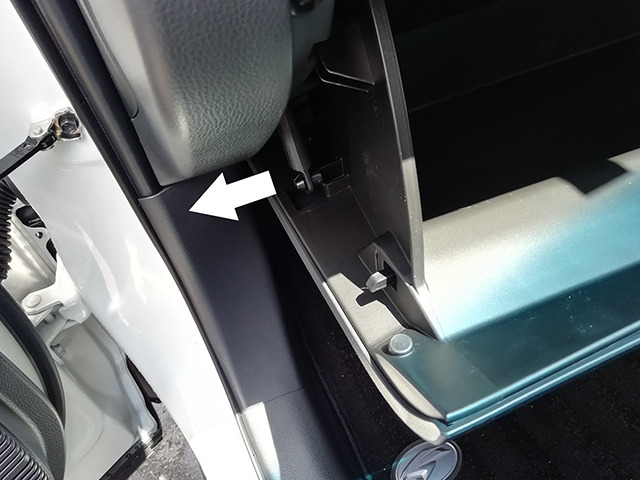
When you open the glove box, there is a damper on the left side, so remove it from the glove box.
Pull the damper to the left to remove it.
Remove the glove box
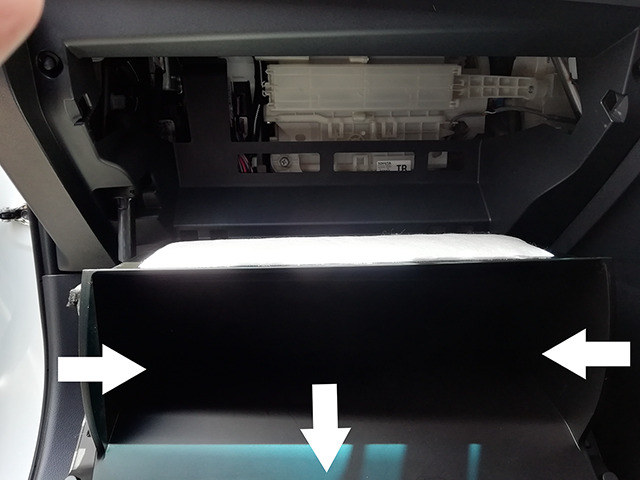
The glove box can be removed by pushing both sides of the glove box inward and pulling it toward you to release the hooks on the glove box.
If the stuck part is difficult to remove, it may work if you remove it on one side and then do the same on the other side.
Remove the cover
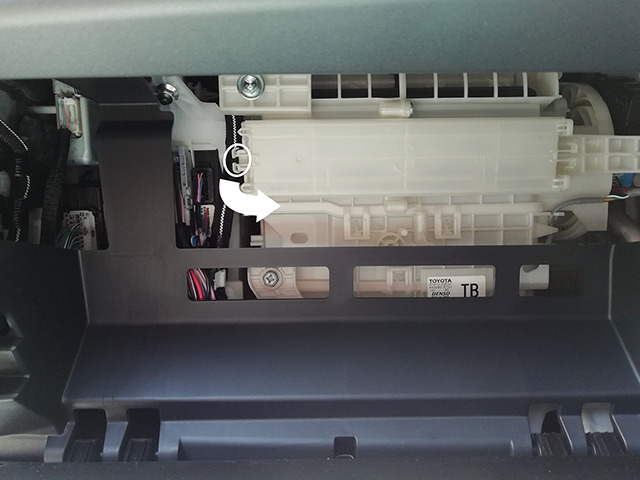
Pinch the lock on the left side of the cover to release it, then pull it slightly to the left to remove it.
The right side of the cover is inserted, so after releasing the lock, first pull to the left and then pull out the right side of the cover.
Replace filter
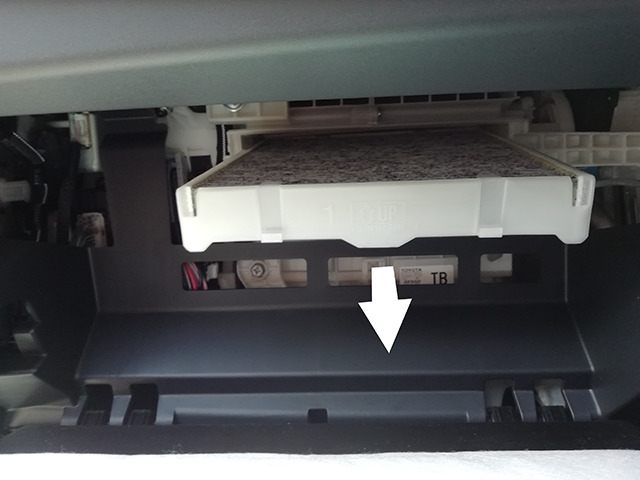
When you remove the cover, you’ll see something that looks like a white container, so pull it out and you’ll find a filter inside.
Just take out the filter from its container (filter case) and replace it.
Nowadays, all cars can be replaced using a similar replacement method, so it is not uncommon for the air conditioner filter to be replaced in the same way even if you change cars.
This is a part that is easy for owners to replace, so I would like to actively replace it.
TOYOTA HARRIER(80 series) Cabin air filter
✅ Compatibility Confirmed
OEM No: 8713958010, Harrier(80)
Ready to buy? Check the price for your searched part on eBay.
Find "8713958010" on eBay*As an eBay Partner, I may earn from qualifying purchases.


Comments