C-HR cabin air filter replacement
We will show you how to replace the air conditioner filter of Toyota C-HR.
Toyota’s C-HR has been selling well since its release.
Will this be Toyota’s first hit SUV in a while?
You don’t understand things like this.
The cars that sell well vary depending on the trends of the world.
Until a while ago, SUVs didn’t seem very appealing, but they are slowly becoming more popular, probably due to Honda’s Vezel.
To be honest, it may not be the kind of car you would drive around town, but it not only has the feel of an SUV, but also has a rather unique design, which is why it caught people’s attention.
The rear glass is also relatively small, so it would be nice to have a backup camera in the back.
It reminds me of a 30 series Prius.
Well, today we will be talking about how to replace the air conditioner filter.
Remove the damper
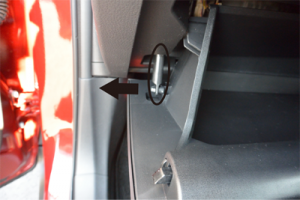
When you open the glove box, the damper is on the left side.
This is a part that gently adjusts the opening and closing of the glove box.
As a side note, I have heard that most of these parts are made by one company.
Depending on the car, it may not be included, but if it is a small car or larger, it is often included.
If you pull the damper to the left, you can remove the tip from the glove box.
Pull out the glove box fitting
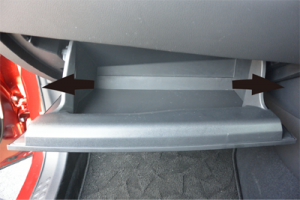
The lower part of the glove box is attached to the instrument panel in two places, so remove the engaged parts.
The car’s manual says that you can remove the glove box by pushing the left and right sides of the glove box inward and pulling it toward you, but it doesn’t budge when you push and pull it.
Therefore, it is easier to remove the glove box if you pull out the engaged part of the glove box.
With the glove box open, pull the glove box toward you one by one to remove the engaged parts.
The glove box can be removed by removing two parts.
If it still does not come out, open the engaged part directly and pull it toward you to remove it.
This is the only step that can be a bit tricky, so you may not be able to do it well until you get the hang of it.
Remove the cover containing the filter
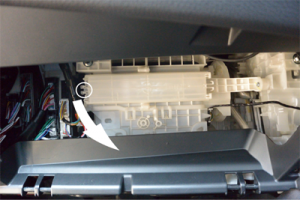
The white cover can be removed by pinching the part where the left cover is locked and pulling it towards you.
The right side is inserted into the unit, so when pulling it out, pull it slightly to the left to make it easier to remove.
Replace the filter
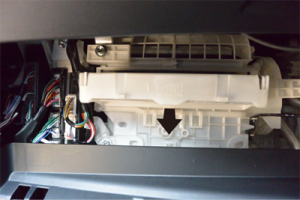
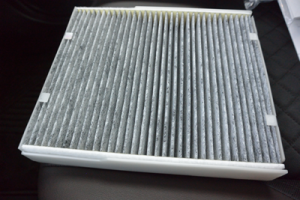
The filter is stored in a white case, so pull out the entire case, remove the filter from the case, and replace it.
Once you get used to it, you will be able to change it in seconds.
Vehicle inspections are done every two years, but many manufacturers recommend replacing air conditioner filters every year, so if you’re interested, it might be a good idea to try replacing them yourself.



Comments