
Introduction
The other day, I had the chance to test drive the Honda S660. While exploring this amazing machine, I made sure to check the cabin air filter setup to share with all of you. Like most modern passenger cars, the S660 is equipped with a cabin filter, and here is how you can access it.
Step-by-Step Instructions
Open the Glove Box:
Unlike some simpler layouts, you’ll start by opening the glove box to access the internal panel.
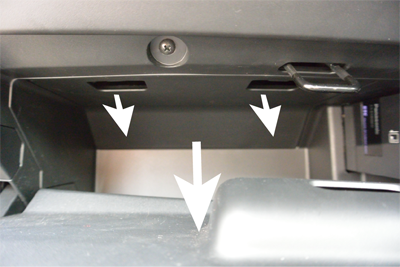
Remove the Upper Panel:
Inside the glove box, look at the upper section. There is a panel held by two locking tabs (left and right). Push these tabs toward you while pulling the entire panel downward to remove it.
Remove the Filter Cover:
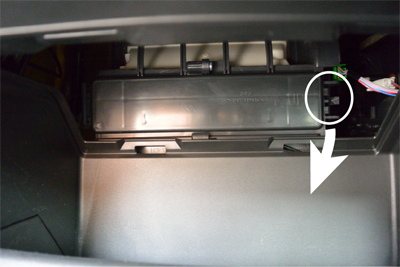
Now you will see the filter cover. Push the locking tab on the right side toward the left and pull it toward you. The left side of the cover is a slide-in hook, so pulling slightly to the right makes it easier to detach.
Swap the Filter:
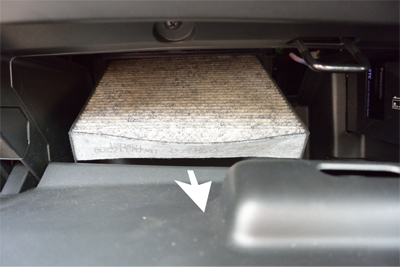
Now, simply slide the old filter out and insert the new one. This method is slightly different from the “standard” Honda pattern we often see in other models.
Pro Tip for Better Access:
The filter is tucked quite far back, which can make reattaching the cover a bit tricky.
Here is a tip: If you pull the glove box damper toward you from the inside, you can disconnect it. This allows the glove box to drop further, giving you much more room to work!
Final Thoughts
S660 owners usually love getting their hands dirty and working on their cars, so a cabin filter change will be “a piece of cake” (Asameshimae) for you! Keep your cockpit fresh and enjoy the drive.


Comments